A little more progress has been made today! I'm so excited about this! Or maybe it's just the fumes from the contact cement that is making me so ecstatic...
This is the foundation for the stock part of the T-21. I was going to tackle this using my 1" thick sheet of EVA foam, but I realized that I couldn't slice it in half. I need to put some sort of stabilizing material along the middle inside of the foam. I brainstormed that it would be possible to stack up thinner layers of EVA foam instead. I really like how dense the 8x10 sheets of 6mm craft foam are (found in 10 packs over at Amazon), so I decided to stack layers of that together to make my stock.
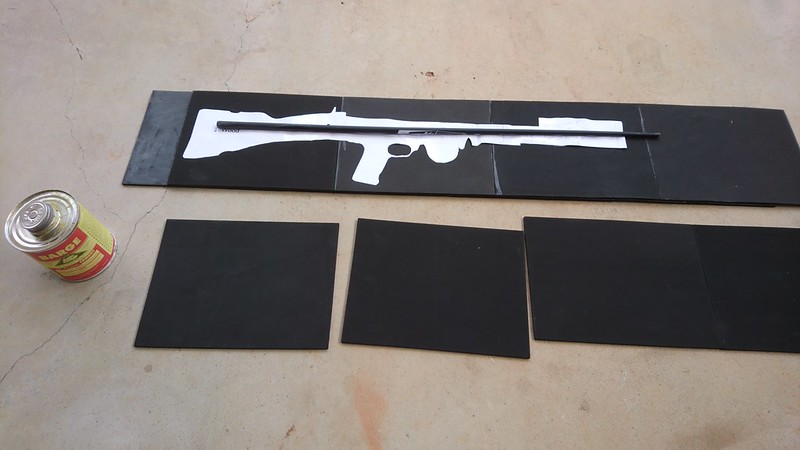
Each half is built of 8 sheets: four across, with two layers. The sheets are glued together with contact cement in a staggered tile-pattern for extra strength. The contact surfaces and adjoining edges are coated with contact cement. See the pole in the pic below? That's an old super-light aluminum golf club handle that will run inside the length of the stock.
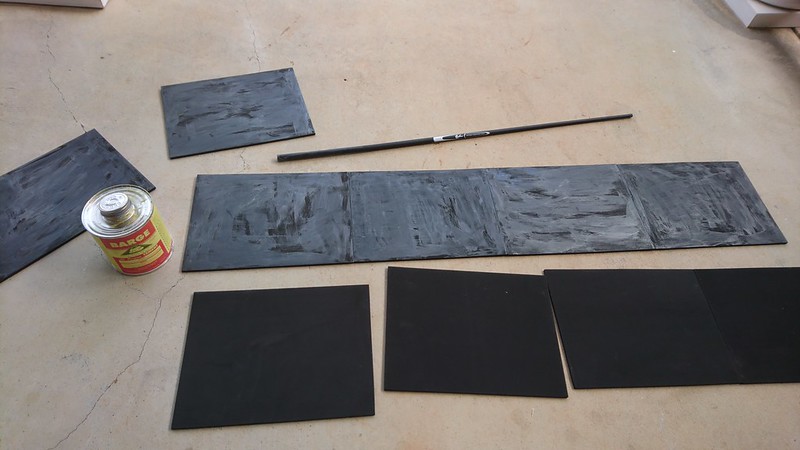
Each half is built of 8 sheets: four across, with two layers. The sheets are glued together with contact cement in a staggered tile-pattern for extra strength. The contact surfaces and adjoining edges are coated with contact cement. See the pole in the pic below? That's an old super-light aluminum golf club handle that will run inside the length of the stock.

Next you can see how the first half is complete. I placed the 1:1 template on top for scale. There will be a channel carved out of the middle of the EVA stock to allow the aluminum pole to sit flush inside between the two layers. This pole gives incredible strength to the foam and keeps the stock super lightweight.
Second half coated with contact cement!
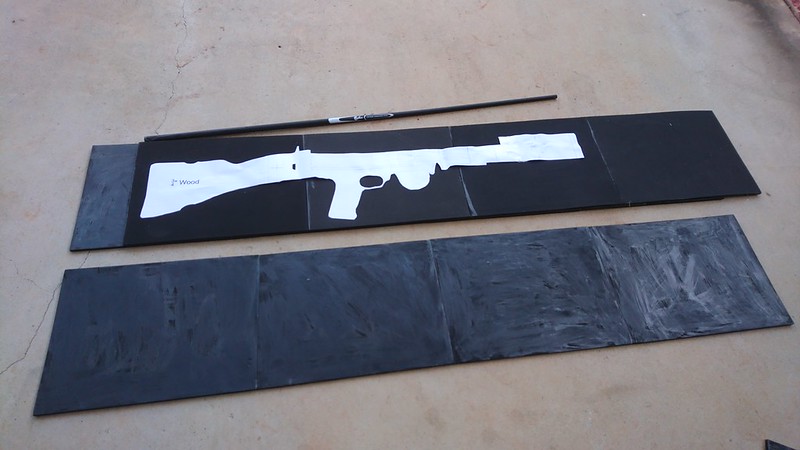
And done with the second half. Considering how much stress that will be on the handle of the blaster, I will probably add an additional piece of pipe or something to the handle area behind the trigger. I could cut another small section of aluminum pole from another old golf club, drill a hole in the main aluminum tube, and insert the small piece there- like in a T formation. That should work, but if anyone out there has a better suggestion, please chime in!
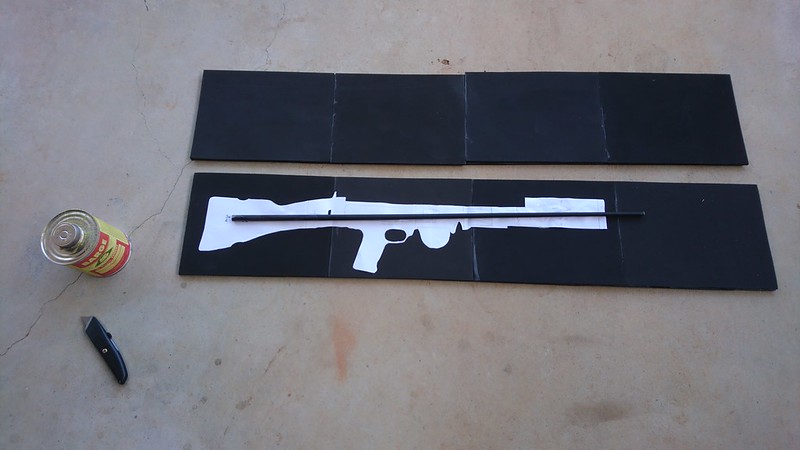

I'm not concerned with the seams at all. I know how to hide them, but they really won't be visible anyhow with all the greeblies that will be attached to this blaster. The next step will involve rough cutting the blaster shape, carving the channel for the aluminum pole, then gluing both halves together with the pole inside. Stay tuned!


No comments:
Post a Comment