I am sure that at least one of you out there knows the feeling when you feel that you just can't do something without screwing it up. And looking back at my progress, I see what caused me to stop dead in my tracks and make all sorts of excuses for why I didn't have time wasn't making this a priority. It was the grappling hook box. I had no idea as to how I was going to make it work on my kit. I was terrified that I was going to screw up a $300 prop (yes, I paid a little over that much for the box...). So with that, I just decided not to work. Period.
I'm crediting my husband for reminding me about my kit-in-progress. Actually, it was a comment he made last night as he looked at the floor of my nerd-room, which was covered with a 1:1 scale printout of a T-21, a large log of EVA foam, and various cutouts of styrene and PVC piping. Photo taken while the floor was still in its "clean" state...
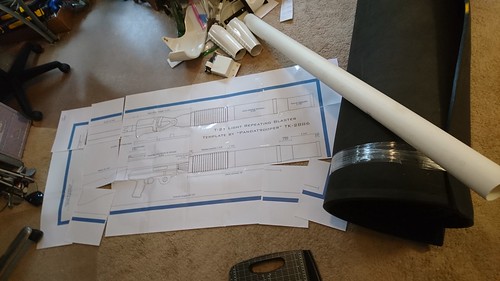
"So how are you able to get to work on your stormtrooper with the floor covered in all this?" A nice reality check for sure. As I sat on the floor and looked around, I realized that there was nowhere to walk on the floor. I had (intentionally?) built an actual barrier to my TK with another project. And that's how projects never get finished!
Sooooo, today I decided to put away all the T-21 stuff and get back to work on my Hero build. And I'm committed to stay focused until I'm done!
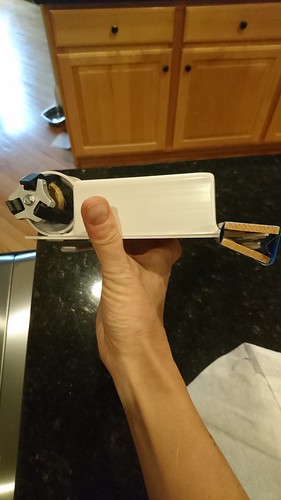
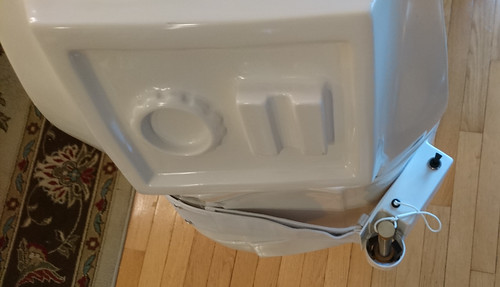
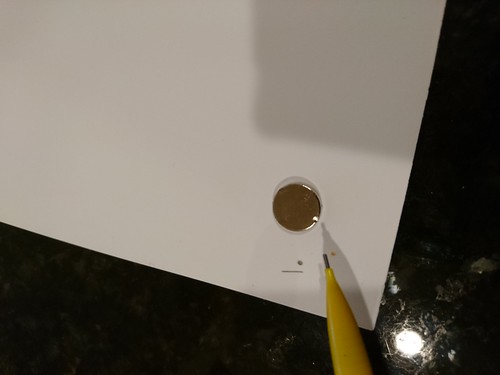
I pulled out the grappling hook box and decided that the safest way to bend the side tabs would be with boiling water. I pulled out a heavy duty roasting pan and filled it with water. The extra large surface area allowed me to submerge the tabs and still give me lots of room left to work. Here you can see how straight things were before the hot water treatment:

I had to remove the round hook holster and left side belt clip, but this was an easy task- they were fixed on with e6000 (yay!). I used large paint stir sticks to help keep the tabs flat because I only wanted the bends to occur near the box, not on the tabs themselves. It took me about 30 minutes, but it worked!
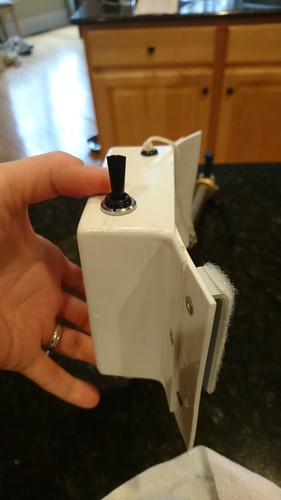
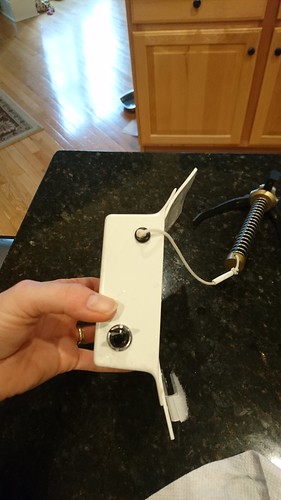

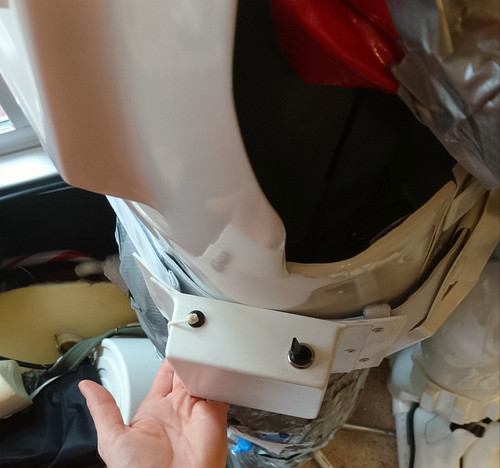
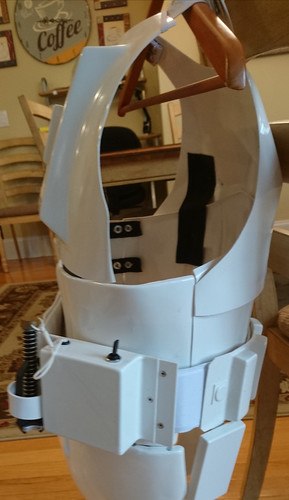
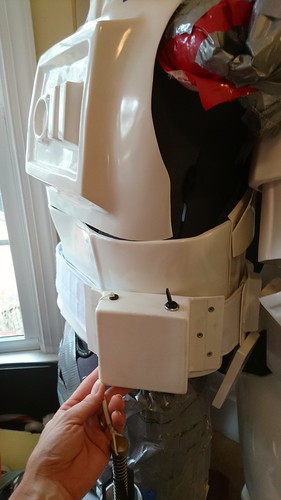
I still have to glue the left side belt hook and grappling hook circle back on. I'm going to give the whole thing a few days to dry out before I tackle that part. But at least this hurdle has been cleared, and I can now confidently wear the grappling hook box without it looking 'off'. I'm excited to finish this build now. Whew!
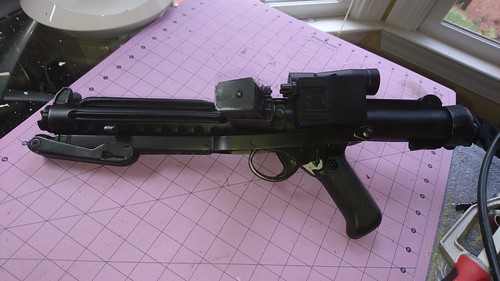
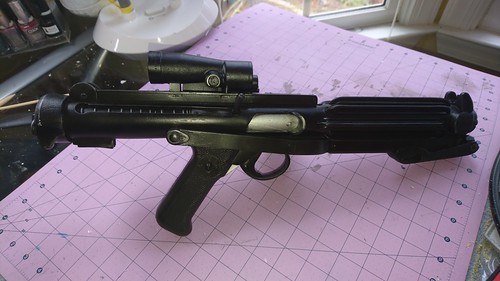
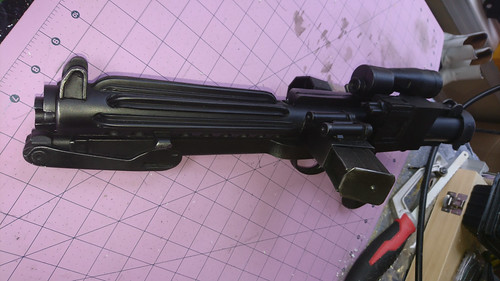
Oh, and my new Praetorian Blaster E-11 arrived in the mail a few days ago, and it is gorgeous! (I will probably do a little weathering to it to make it look a bit more battle-worn, but it's still beautiful.) The detail in that spring element alone is stunning!
I gave my Hyperfirm E-11 to my husband for his RS TK... which caused him to revert instantly back to a 10 year-old boy, running around the house with it, yelling, "Pew! Pew! Pew!". He can't wait to be a TK.


No comments:
Post a Comment